Your Cart is Empty

I thoroughly enjoy working one-on-one with clients and have a particular affinity for working through challenges and finding creative ways to overcome obstacles. This post is a walk-through of the consulting and design process for a recent custom pedalboard, which (as is often the case) needed to be scaled down from its original conception. My client and I were both very pleased with the results.
Diving in
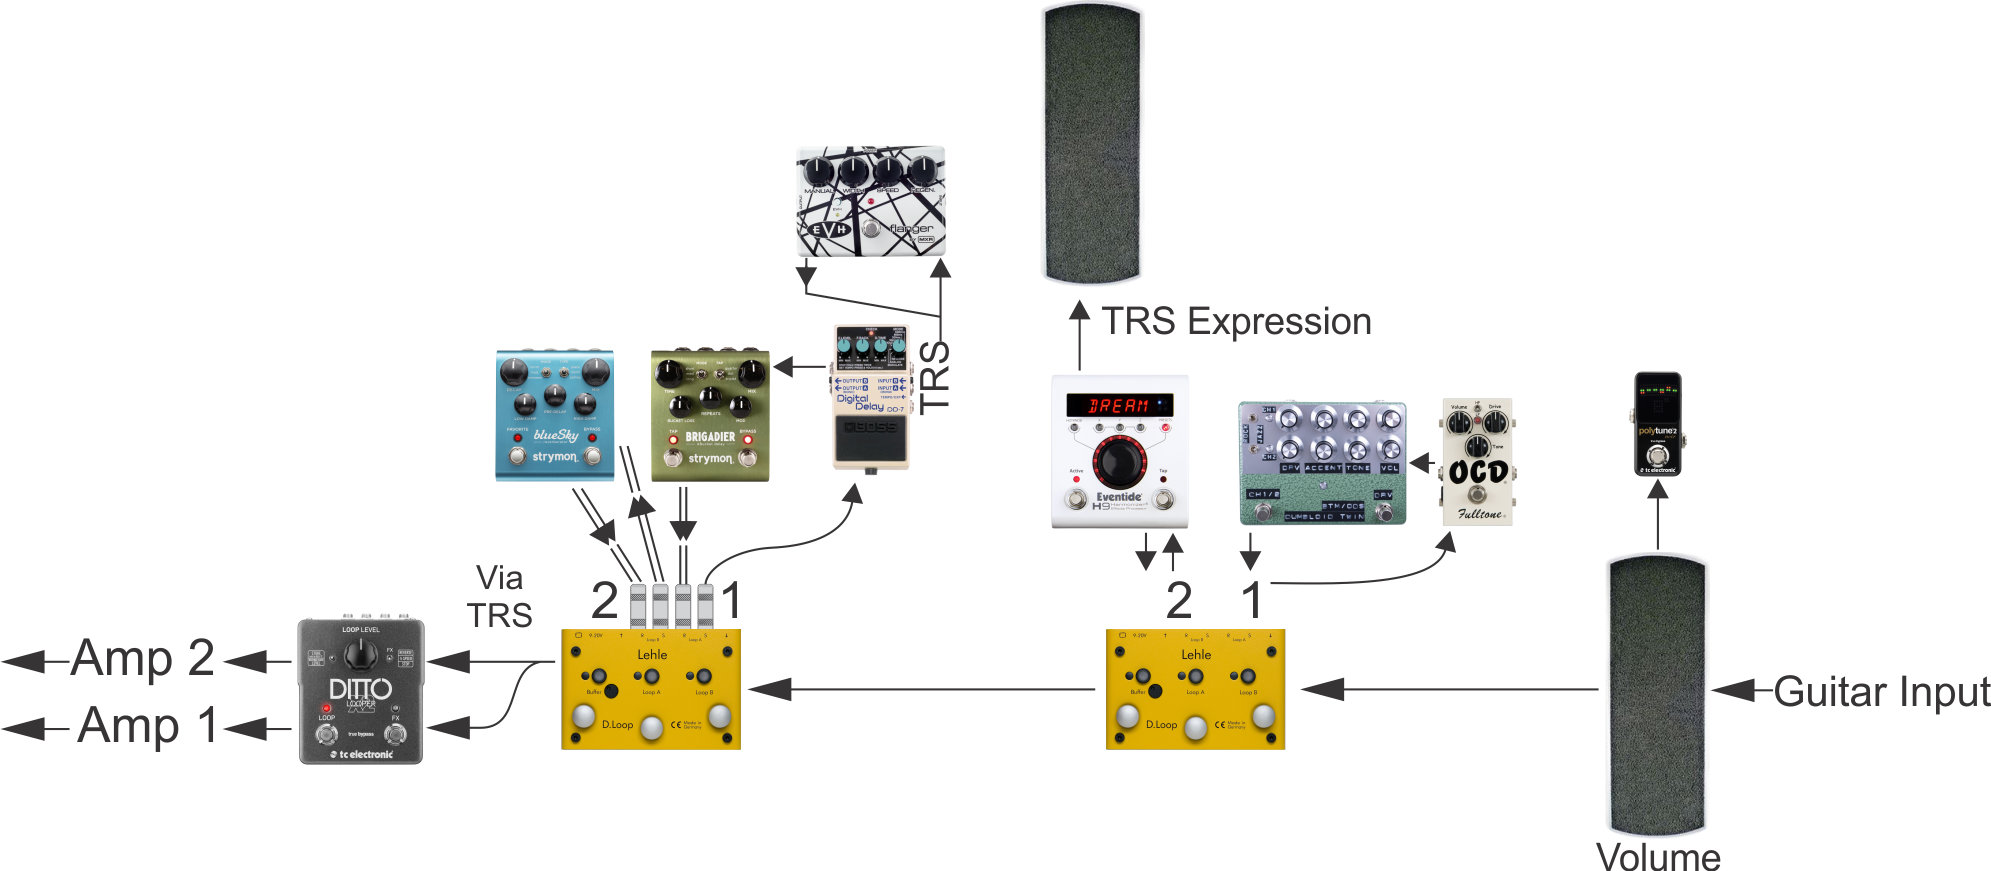
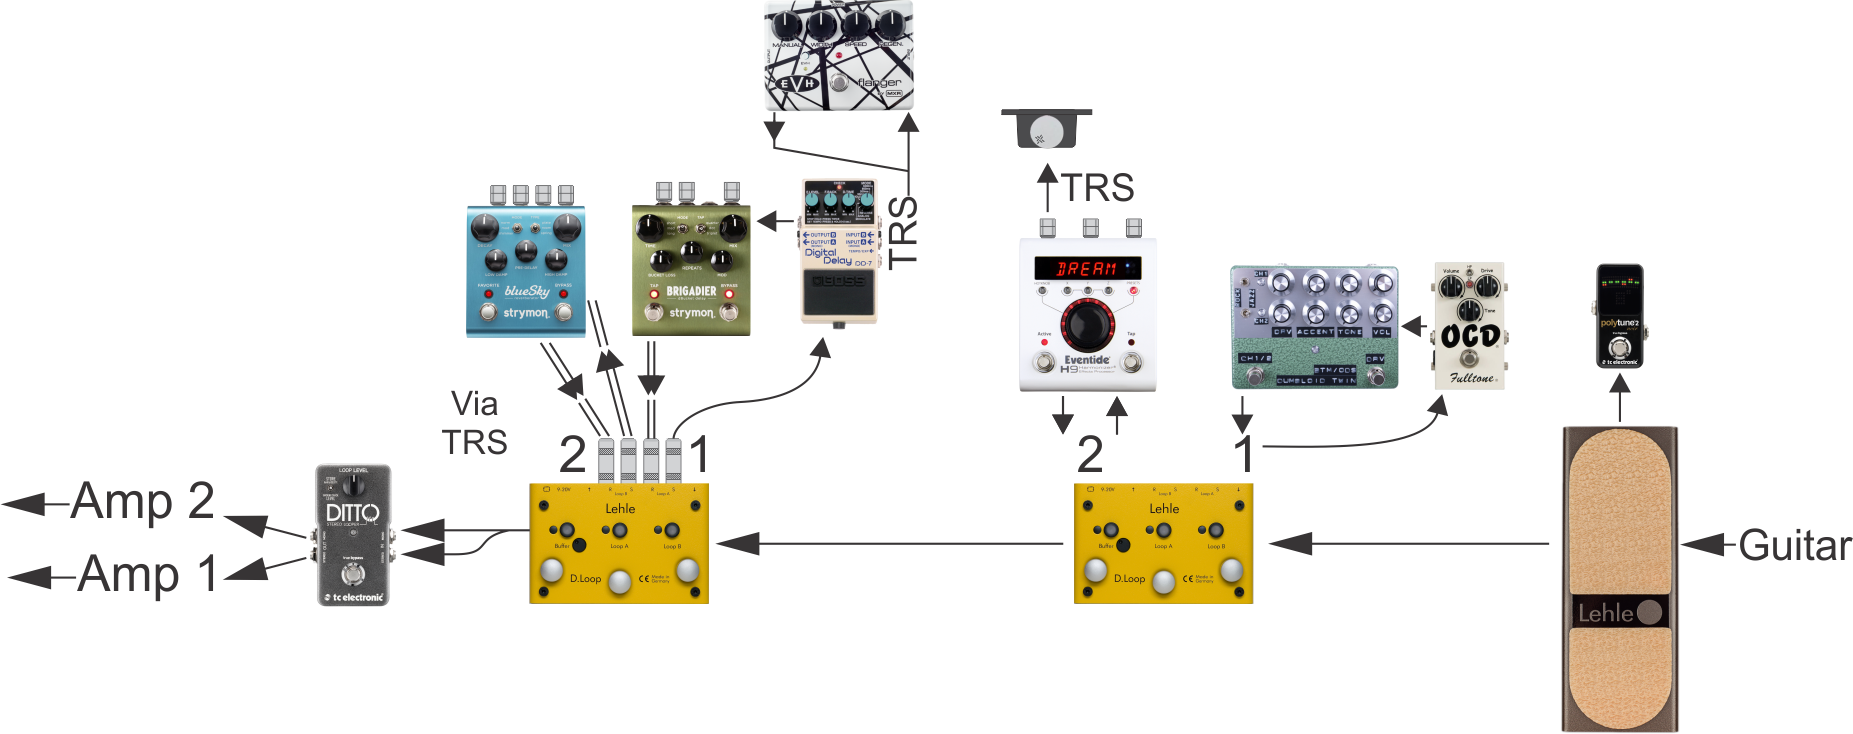
After discussing the pedals that would be included, power supplies, switching requirements, and other details, I drafted this signal chain:
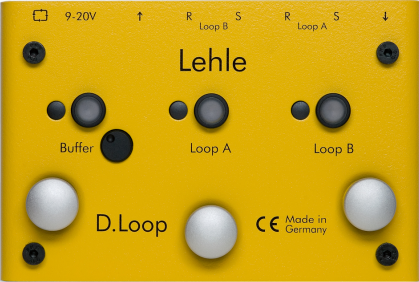
A note on loop-switching with the Lehle D. Loop . . .
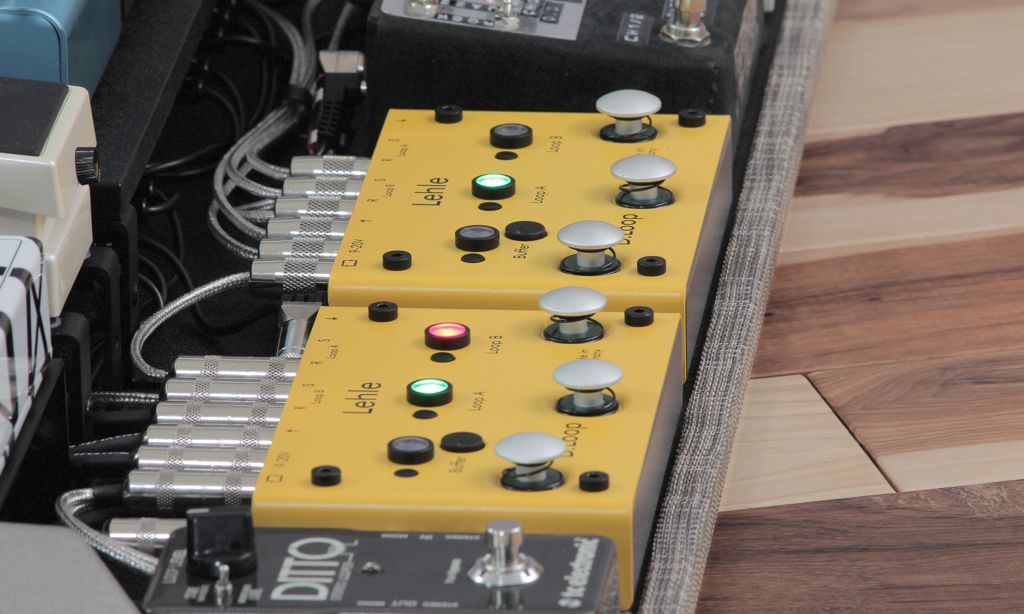
Looking at the signal chain above, you may notice that the second Lehle D. Loop carries a stereo signal path. This was possible by virtue of the D. Loop's full stereo capability via TRS jacks. In this case, we split each stereo loop into two parallel mono loops using Y cables (TRS out to dual mono plugs).
Requirements and requests
My client's nonnegotiable requirement for this rig was that the pedalboard be no longer than 32"—light enough to be carried in our vintage-style Signature Case.
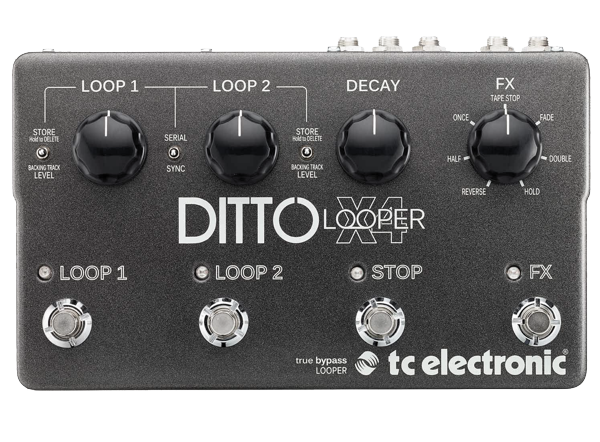
The client also wished to swap out the TC Ditto X2 Looper for the larger Ditto X4. But only if space would allow it.
Pedalboard Tetris
After drafting a probable signal chain, the next step is arranging the layout. Here are some of my goals:
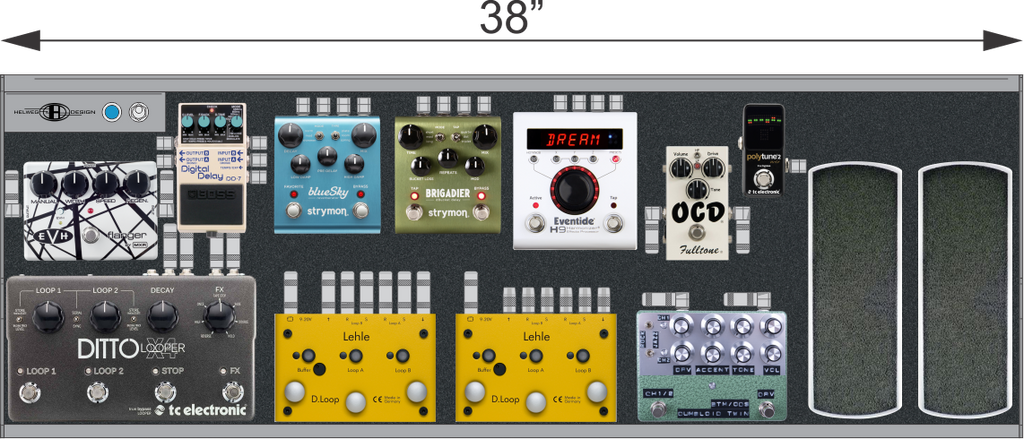
With these criteria in mind, I dropped the pedal images into my mock-up software. After some arranging and re-arranging, I submitted this layout to my client:
The advantage of mock-ups
As illustrated above, my mock-up was 6" longer than the target pedalboard length of 32". The layout also needed to allow better access to the volume pedal's input (the first pedal in the chain). As it was, the board would require a patchbay for the input jack, but we had very little space to add one.
Since the large Ditto X4 was not essential, I drafted alternate layouts to determine how much length might be cut down by downsizing to smaller Ditto models.
Using mock-ups, I can quickly remove, rearrange, and add pedals to the scheme without needing actual gear on-hand. In this case, I was experimenting with pedals that my client didn't even own.
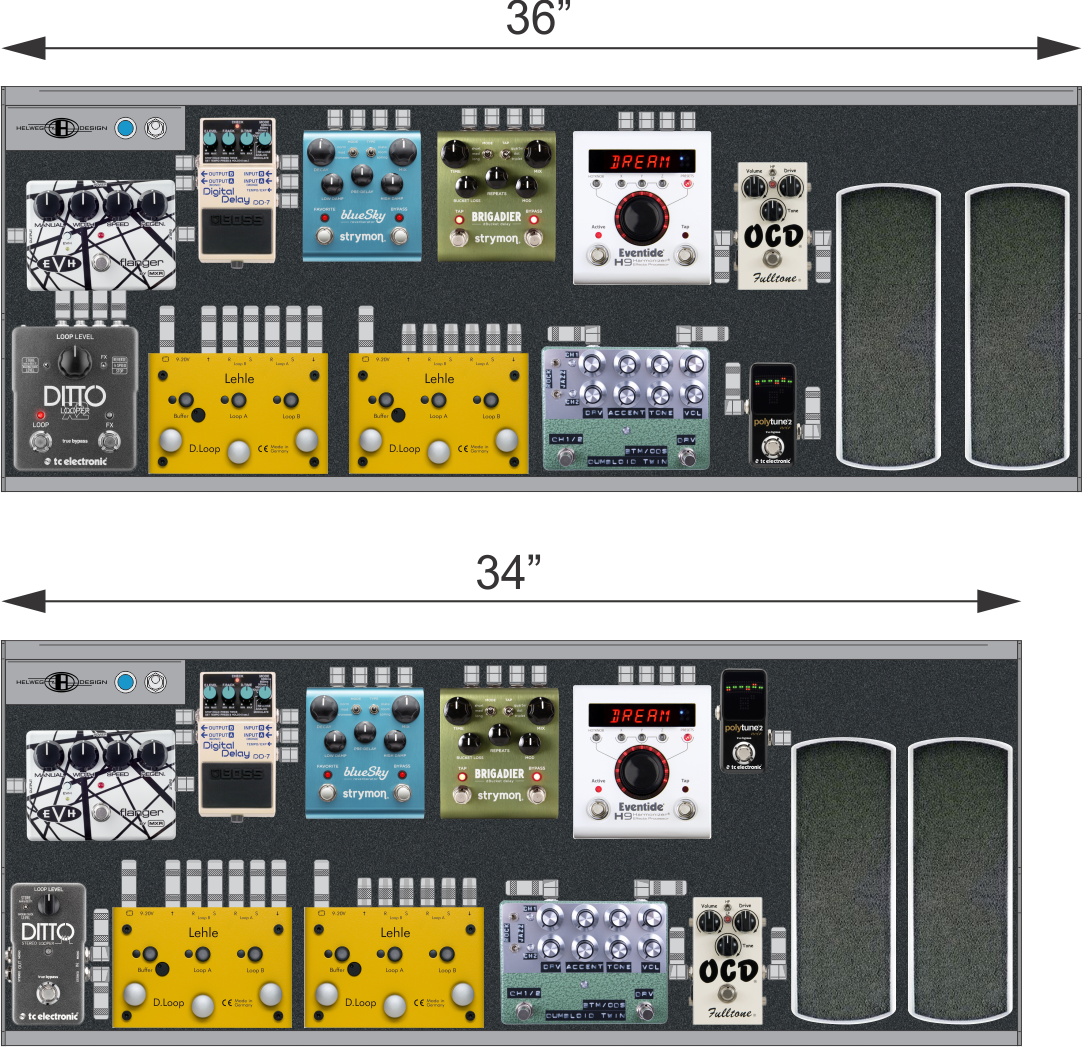
My client was happy with the 34" concept featuring the smaller Ditto Stereo Looper. We were now just 2" too long, but lacked options for further consolidation without removing something from the layout. And we still needed better access to the volume pedal's input.
Solution plus upgrade
To access the input jack without adding a patchbay, we swapped the Ernie Ball volume for a Lehle Mono Volume 90, which has jacks on the right side. This overcame the obstacle and was a huge overall upgrade in quality.
Miniaturizing the expression pedal
It's difficult to include a full-size volume and expression pedal on a small- to medium-sized pedalboard. We considered simply moving the expression pedal off the board, but decided instead to replace it with an expression roller knob housed in a mini enclosure.
The back brace of the OpenWing pedalboard creates an excellent mounting surface for integrating all sorts of custom features. I took advantage of this and built the expression roller into a 2" x 2" Hammond enclosure with flanged mounting base. I screw-mounted the enclosure to the pedalboard back brace just above the volume pedal, which would allow my client to tweak the knob with the inside of his right foot while resting it comfortably on top of the volume! This worked out great and is a configuration I'm sure I'll use on another custom pedalboard setup.
This alteration achieved better spacing between pedals while hitting our target length of 32".
Here's how the final signal chain turned out:
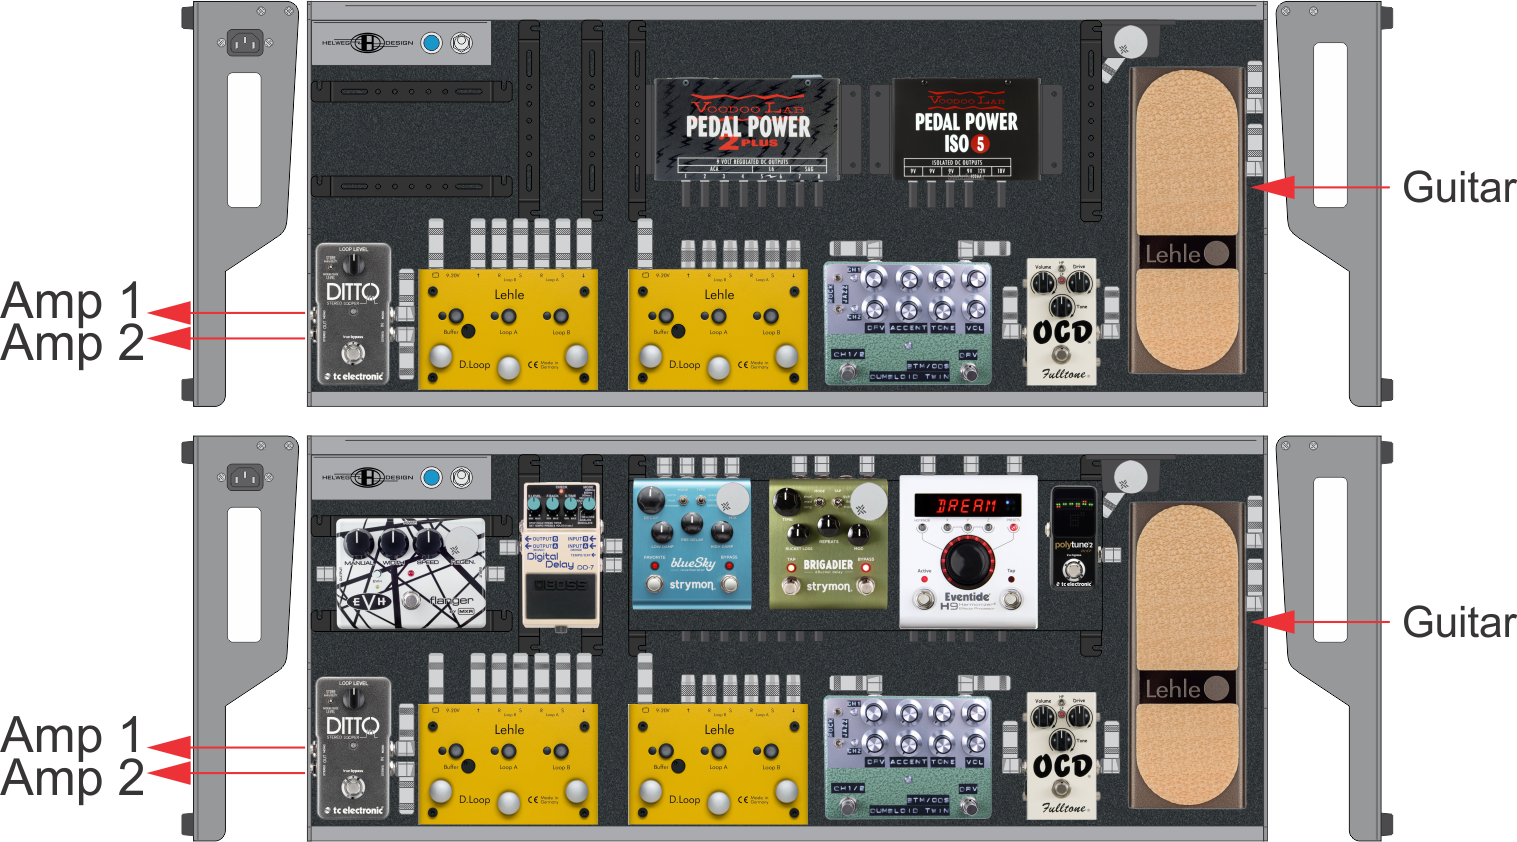
And a final mock-up of the 32" layout (showing the bottom and top layer created by risers):
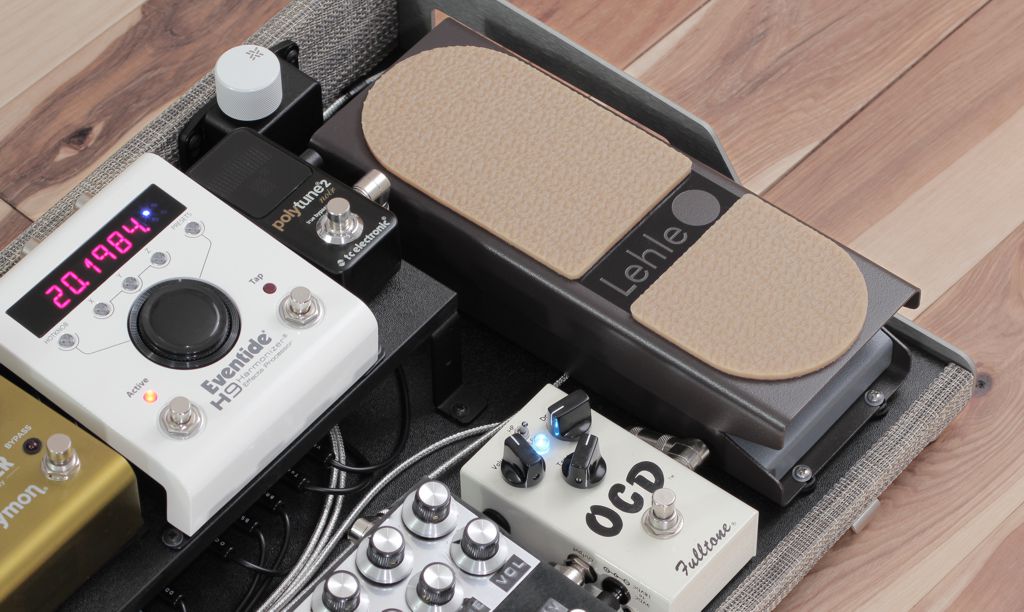
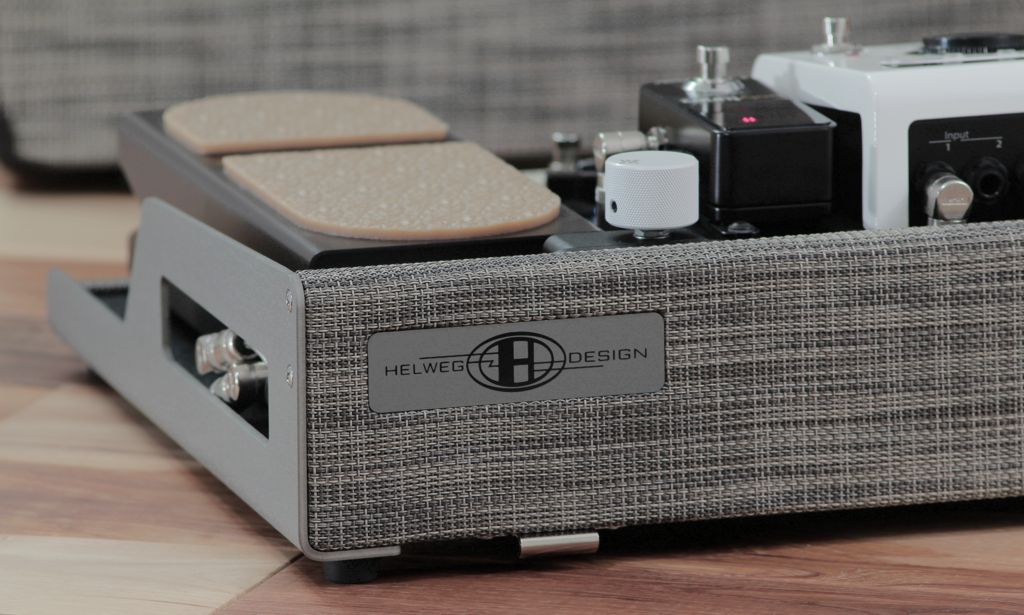
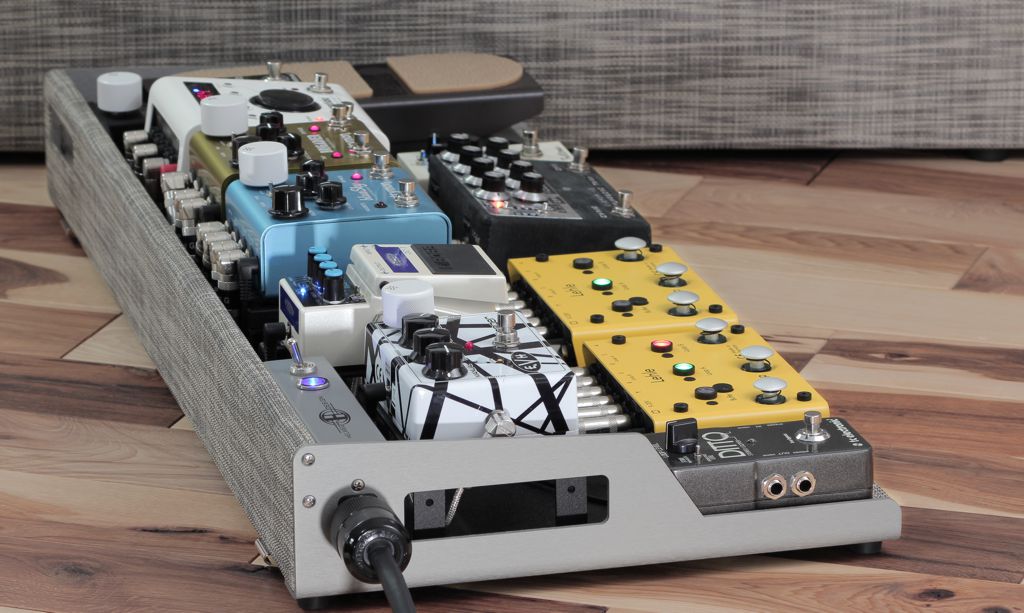
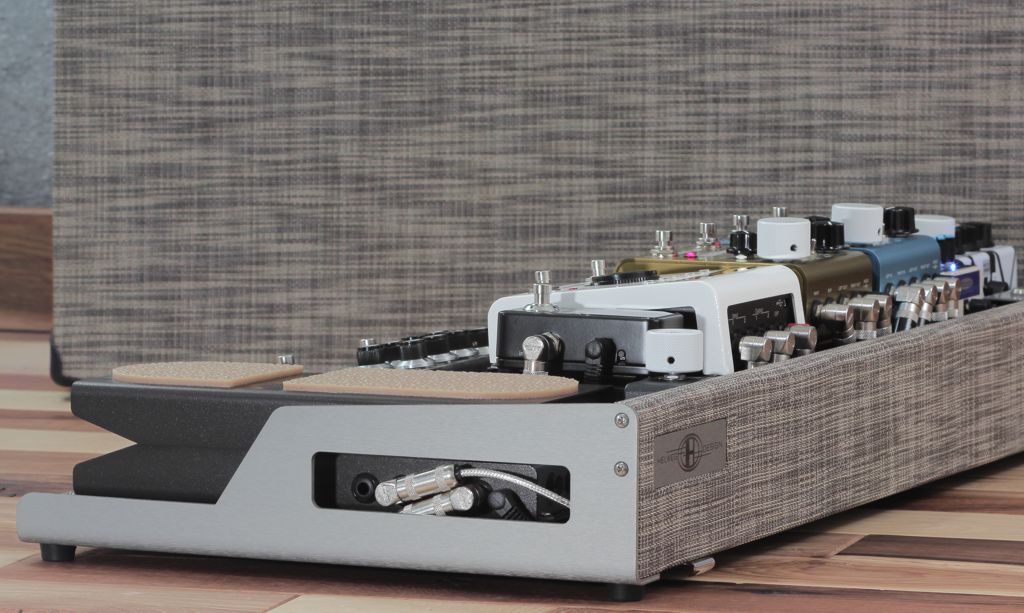
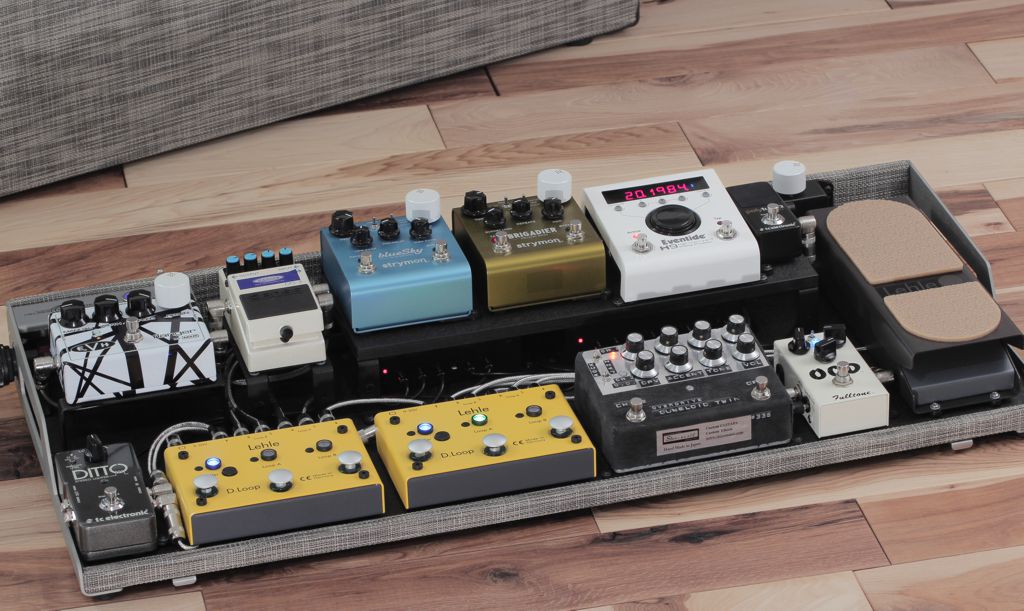
Here's the completed rig:
Comments will be approved before showing up.
